
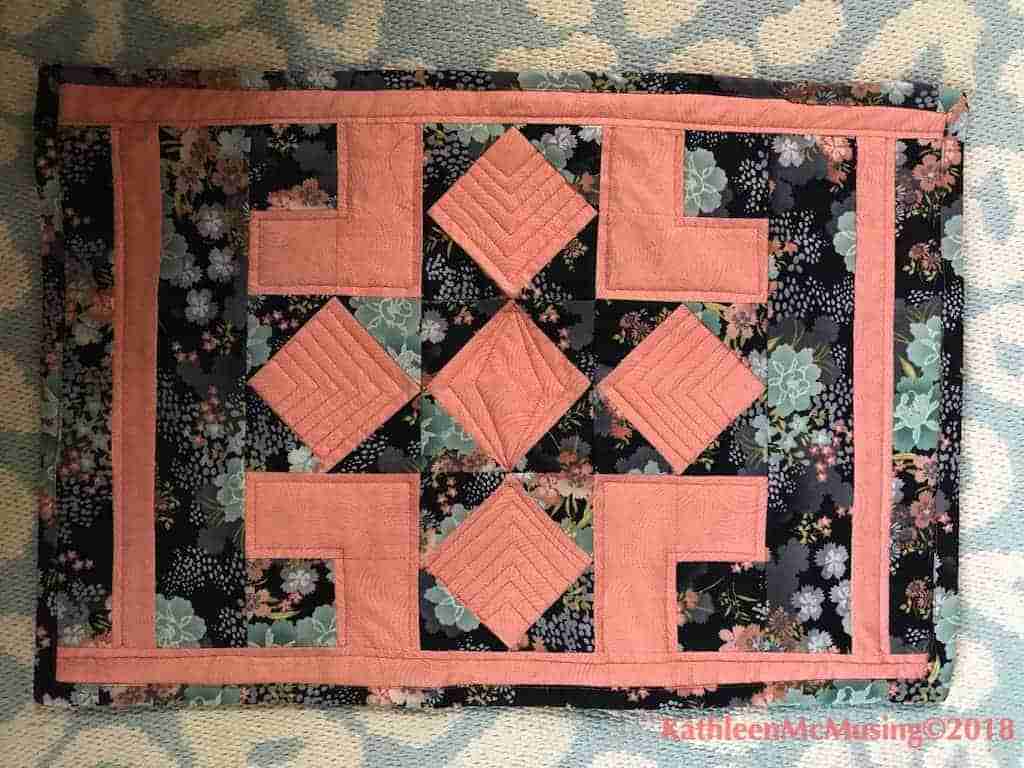
A few months ago Abbie at Sparkle On Blog asked if there was a nice way to do a self binding. I use this mostly for placemats and table toppers, but I am sure you can use it for a quilt.
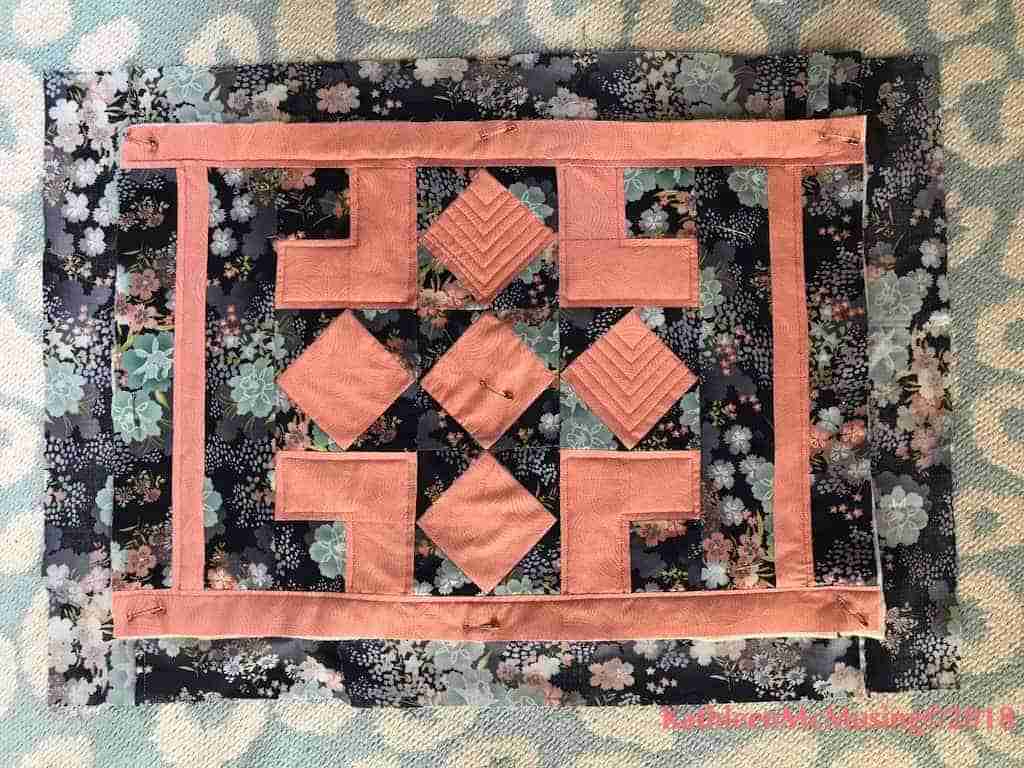
- Sandwich quilt with extra backing fabric, for this I used 2″.
- Quilt your piece.
- Sew a securing stitch 1/4″ around the mat.
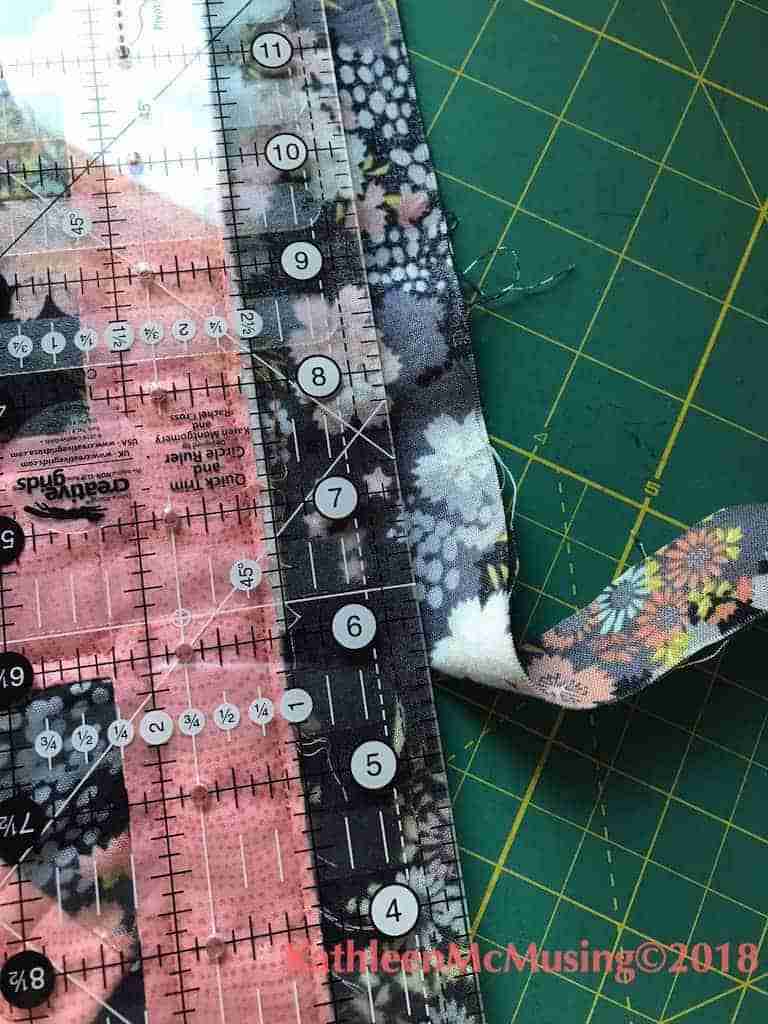
4. Trim to the appropriate size for the binding. For me it was 1″ to get a 1/4″ binding
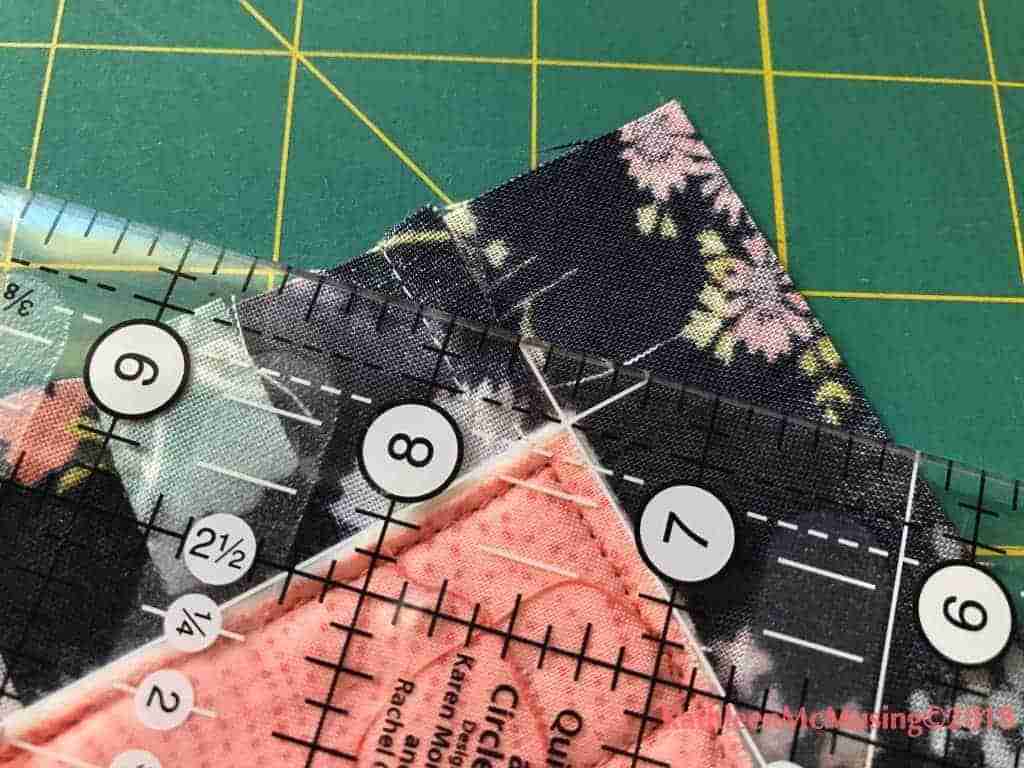
5. Find the marking on your ruler that allows you to trim with 1/4″ remaining.
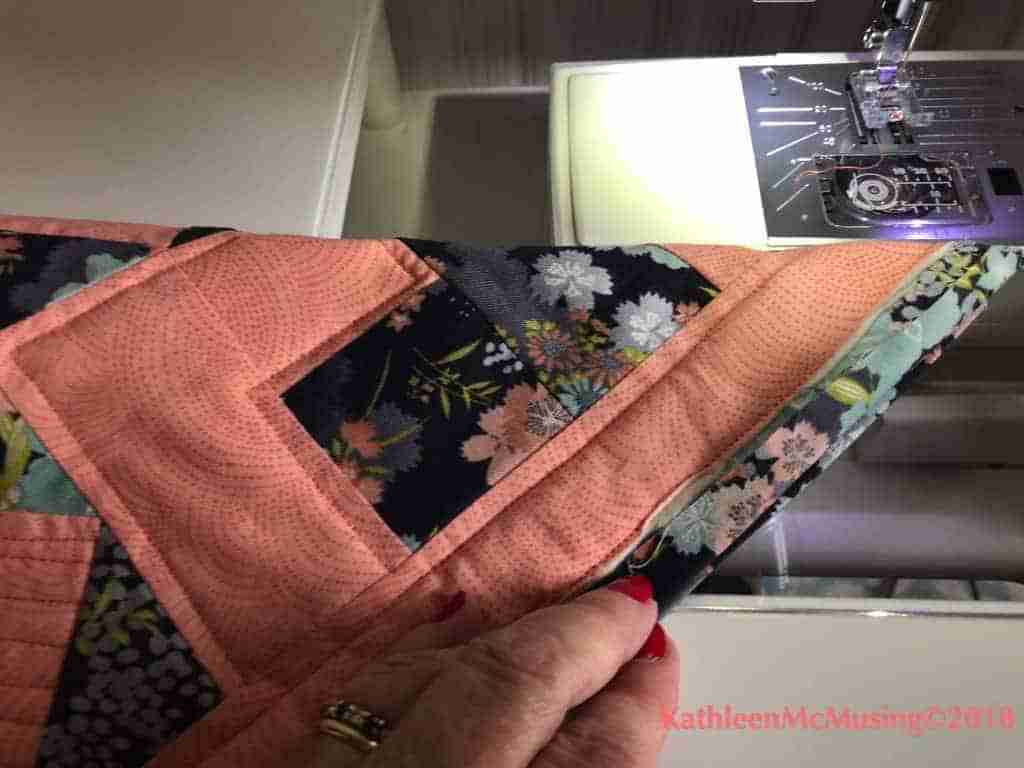
6. Press fabric halfway to meet raw edge of quilted top.
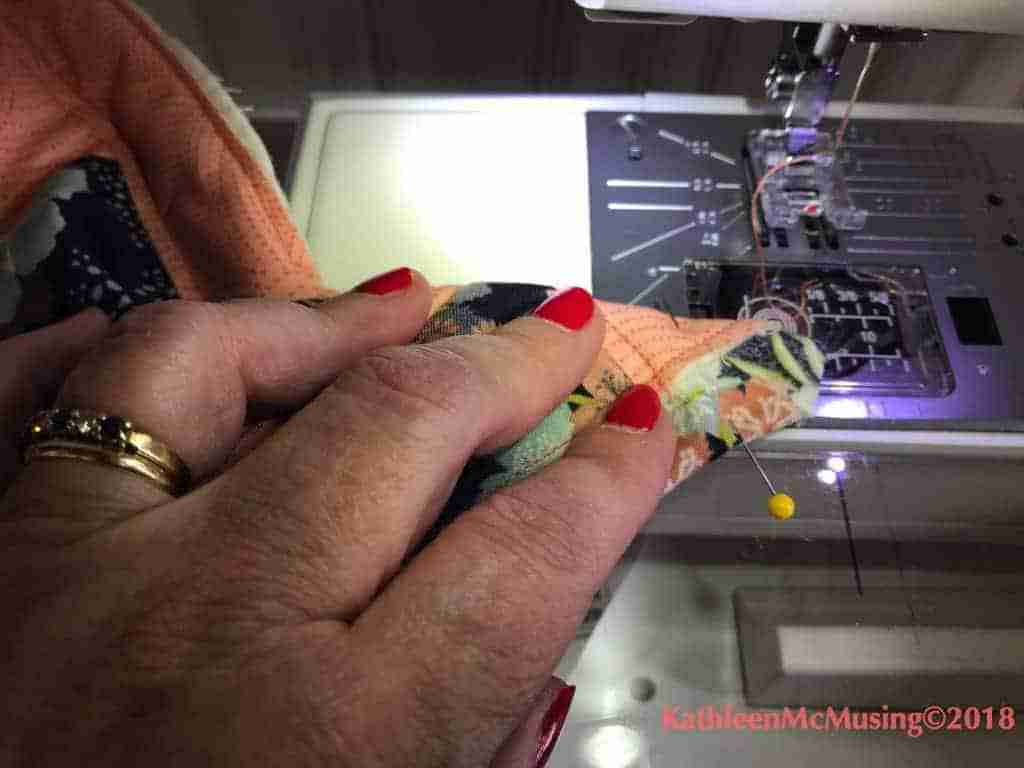
6. You then pin on a 45º angle angle, so that the sides touch each other.
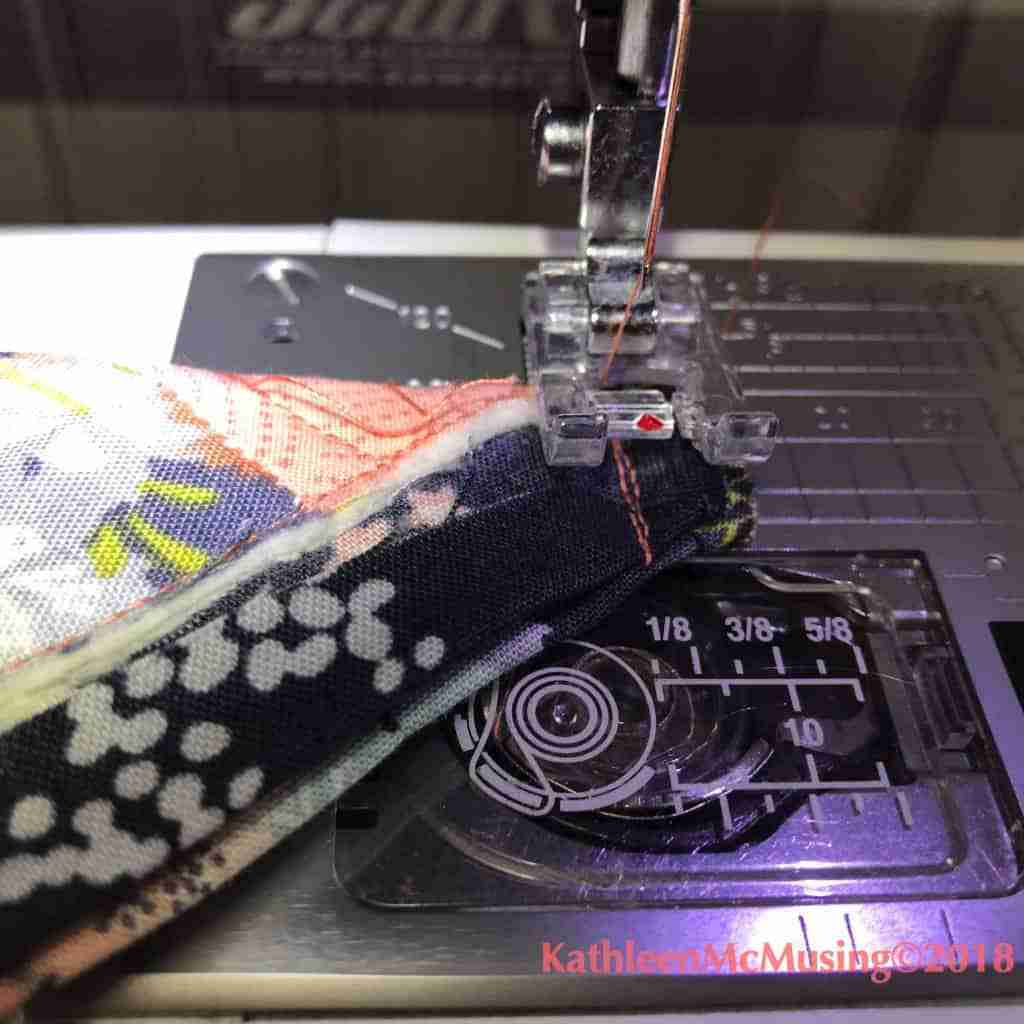
7. Sew a 1/4″ seam, starting at corner closest to sandwich.
8. Backstitch over entire sewing line.
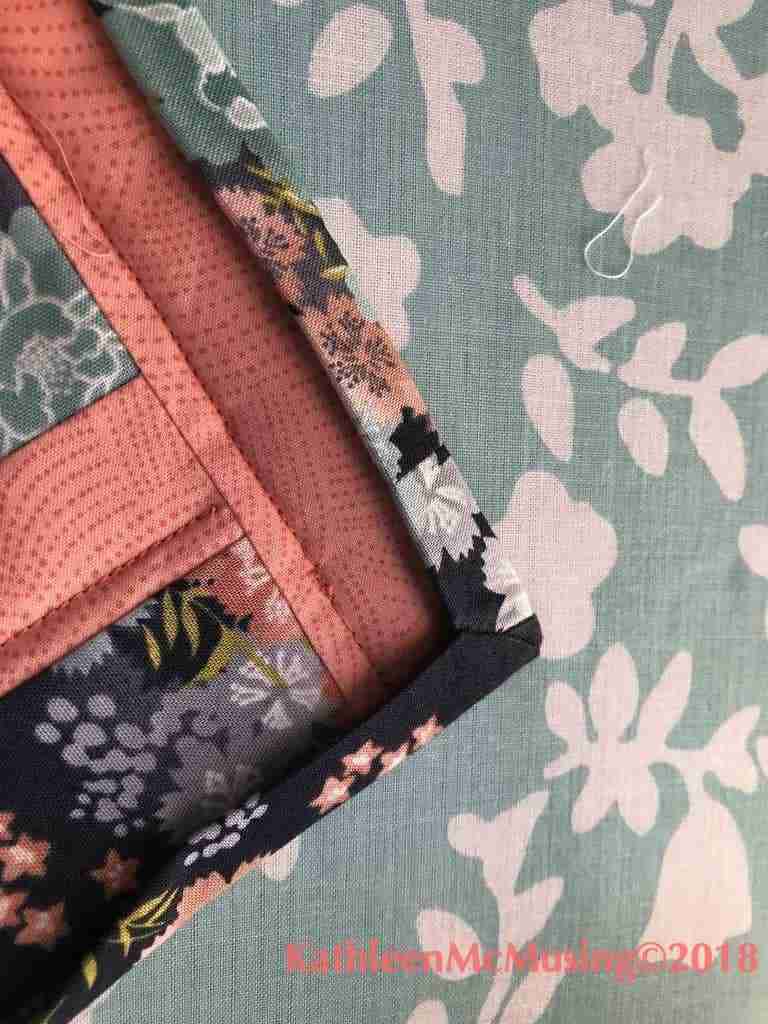
9. Turn corners inside out. If you don’t like the way something looks, you can adjust now.
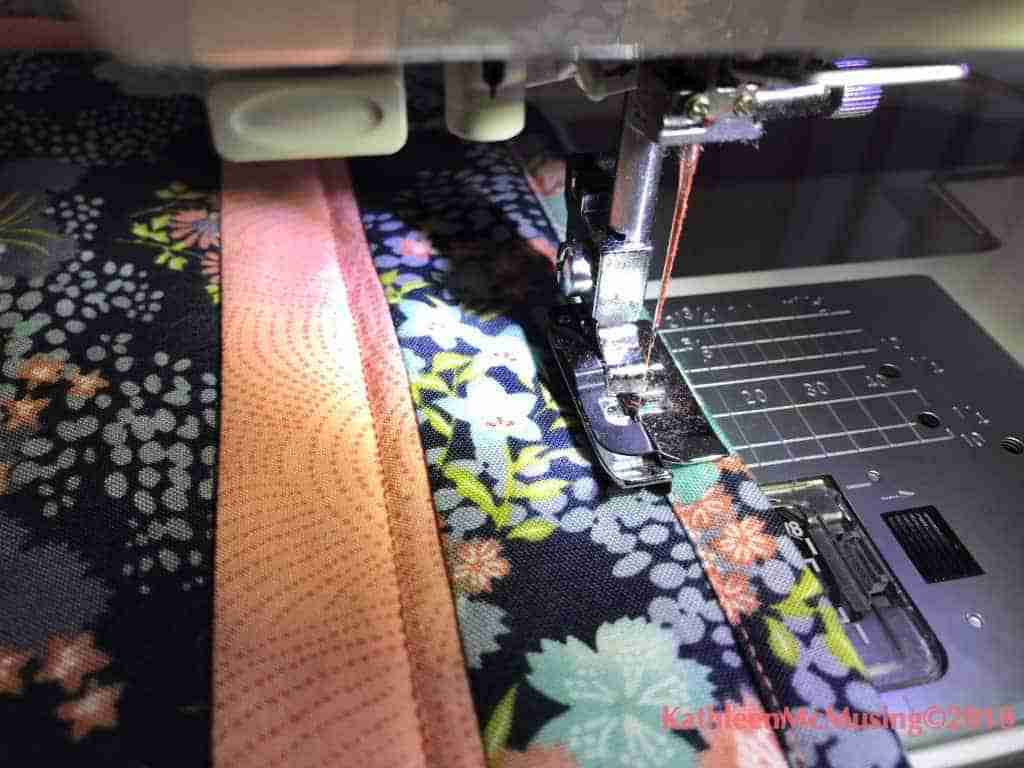
10. You may want to press and secure binding to front with clips or even Elmer’s washable glue.
11. Sew closely to the edge of the binding.
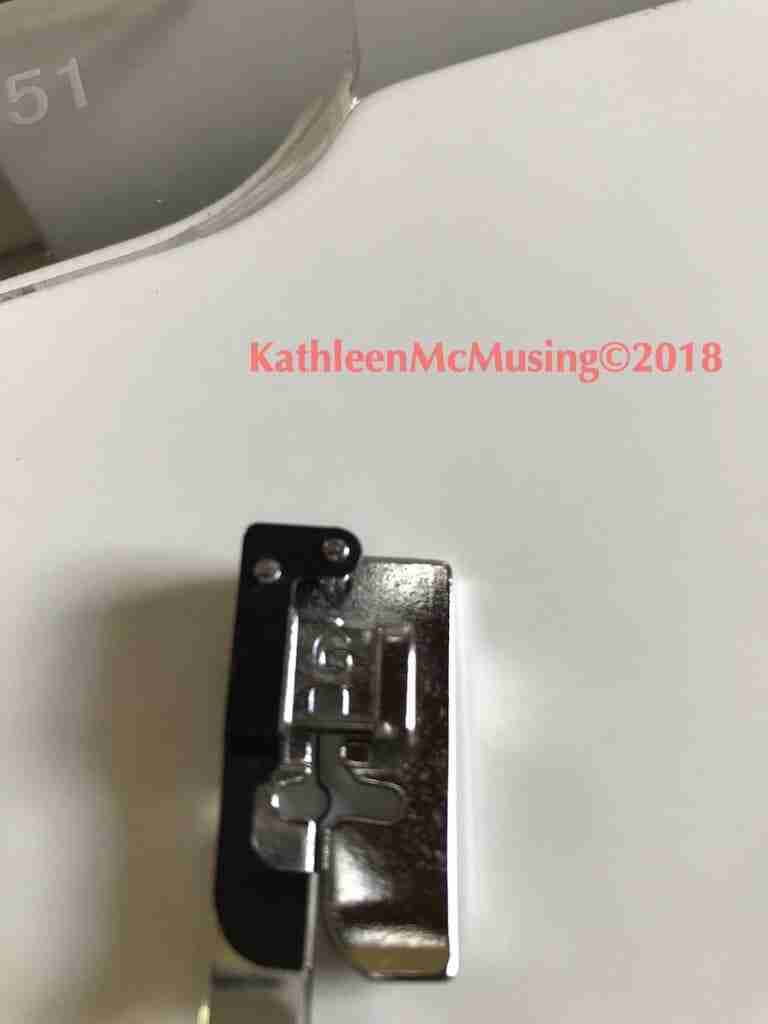
This foot, G – Blind Hem Foot (on my Janome) worked really well to keep close to the edge. I did get a tiny bit of bunching; next time might eyeball the last few inches to prevent that from happening.
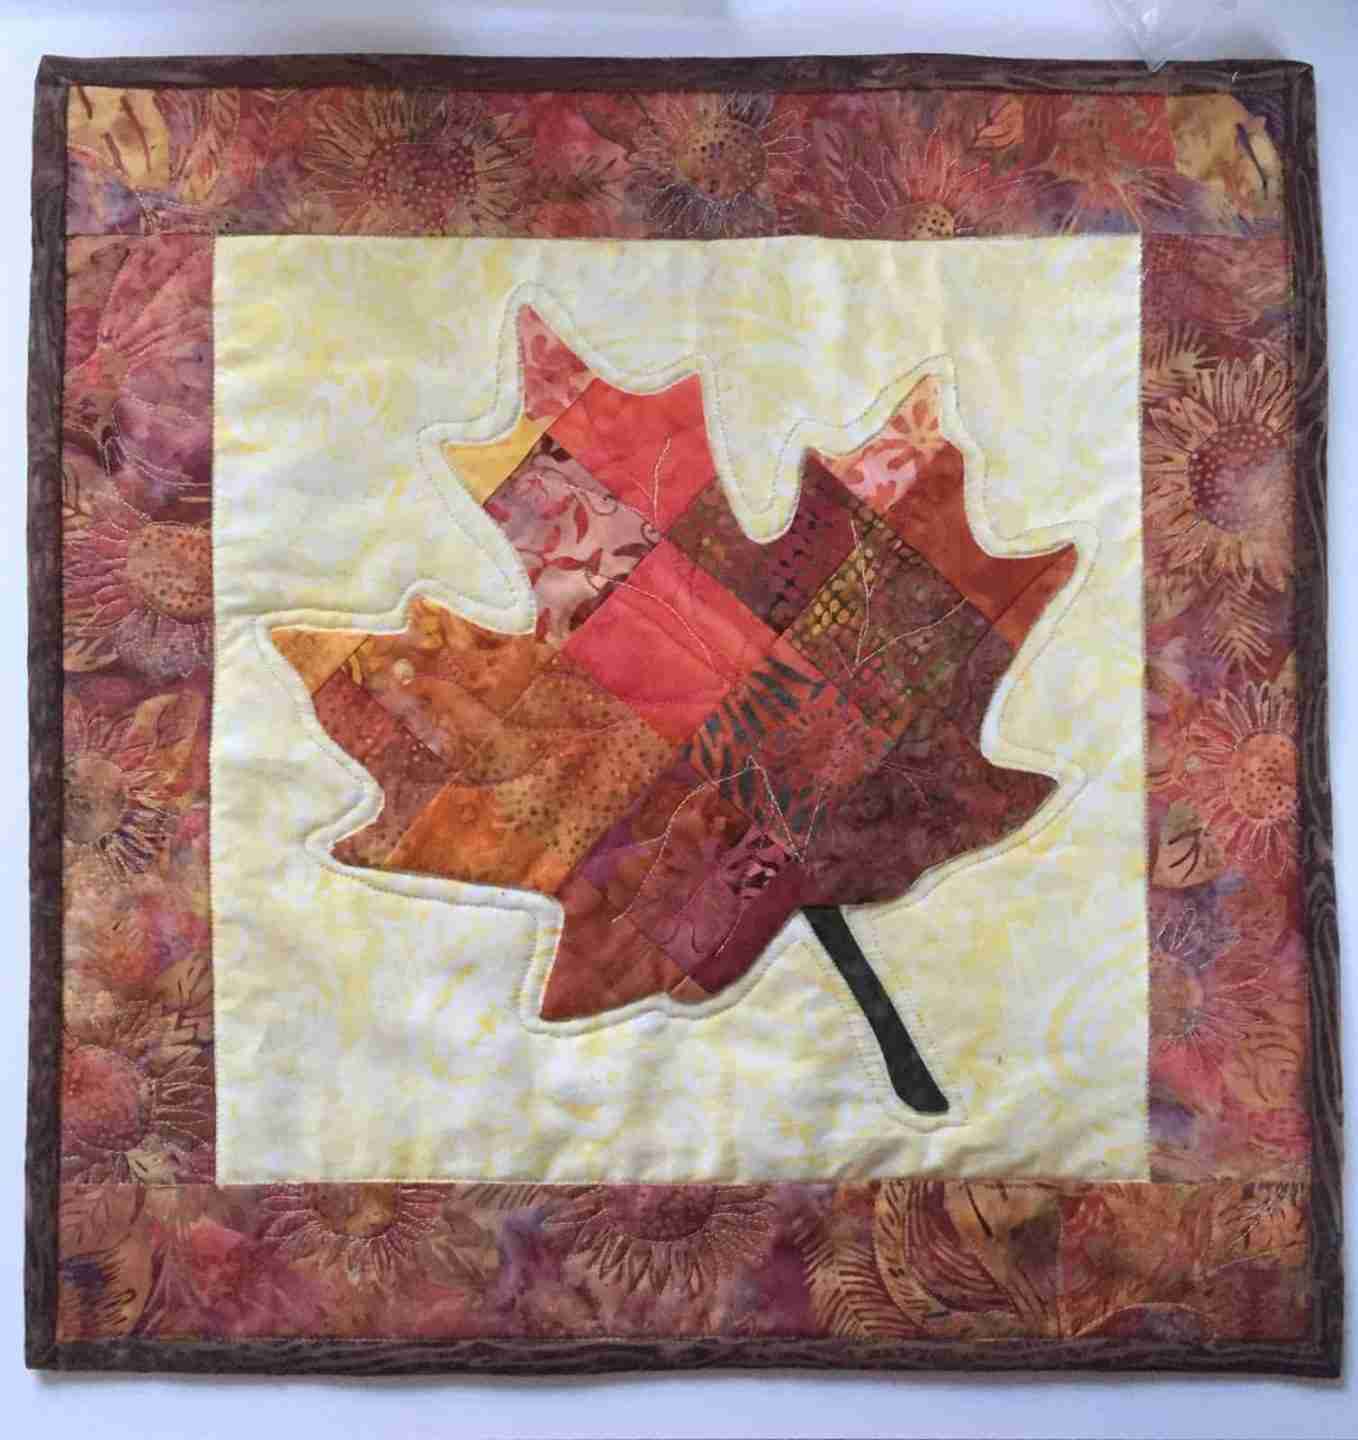
This block was designed by Sherry Shish at Powered by Quilting. I tested a pattern for her, so it remained secret until she released it. She is having a sew-along (SAL) in January, I’m playing. Join us, it will be fun.
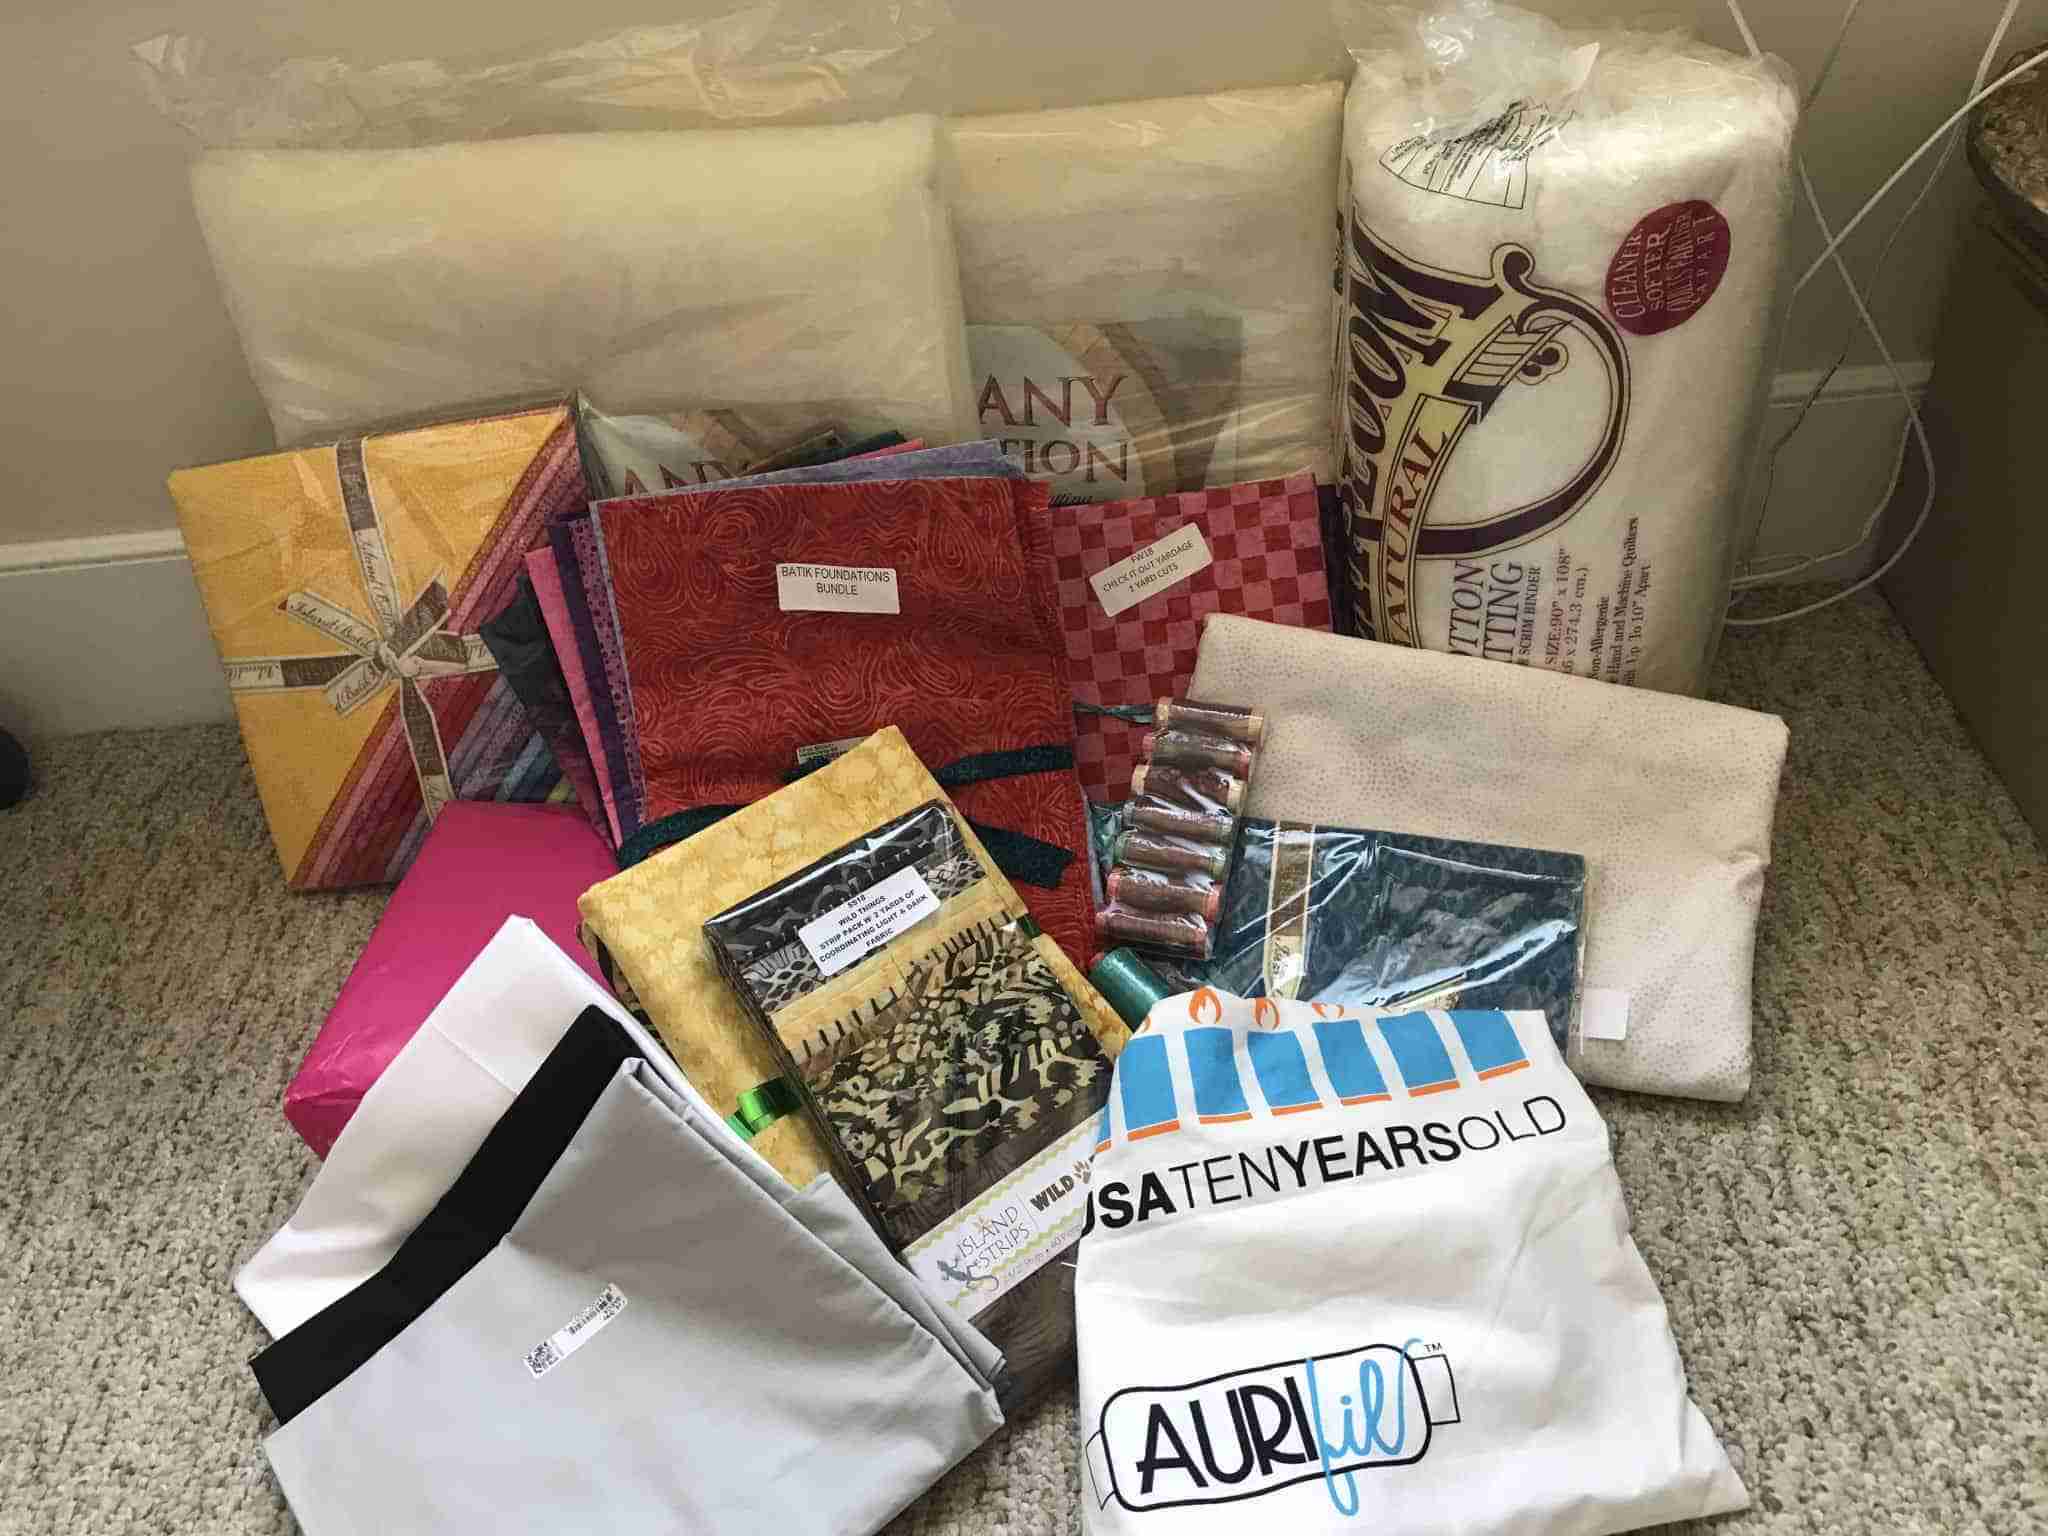
Giveaway!!!!
I do have an excess of Island Batik and so I thought I’d offer some. So here’s my giveaway – tell me your favorite combo of colors. – if you win I will make it work – at least one yard of fabric coming your way. Giveaway is open until Sunday at midnight, DST.
Linking up with:
Confessions of a Fabric Addict: Can I get a Whoop Whoop?
Busy Hand Quilts: Finished or Not Friday
Powered by Quilting: Friday Foto Fun

Disclaimer: *Links with asterisk indicate an affiliate link. As an Amazon Associate and affiliate of other companies, I earn from qualifying purchases. Your price is not any different, but a small percentage of the sale will go to supporting my blog.
That is a very interesting technique, and new to me. Thanks for the instructions! I like bright color combos, like turquoise with lime green or yellow.
I always wondered how to make the corners on self binding! Thanks so much for the tutorial!
My favorite color combination is pink and gray.
Thanks for the great tip on self binding. I definitely will be using it for my smaller projects. I’m intrigued with turquoise and browns at the moment, but I really like all fabric!!
Hi Kathleen! I haven’t ever tried the self binding except on very small projects, like an ornament. Thanks for the step-by-step, and it is very interesting on how to keep the bulk from the corners. I’ll have to give it a try some time. Oh boy, it is hard to pick my favorite color combinations. My favorite color is cream, but I really love white with navy and/or red. A nice crisp white just speaks to me, so anything to highlight that crispness is perfect-o in my eyes. Happy Friday to you! ~smile~ Roseanne
Great tutorial Kathleen. Thank you for sharing and for the chance to win your awesome giveaway.
My favorite colors together are pink and green.
Thank you Kathleen for the tutorial and the awesome giveaway.
My favorite color combinations are pink and green.
Sorry for the duplicate. My computer is acting up this morning.
Never, ever changes…Purple, Blue, and Green! Great tutorial- giving me some ideas! Thanks!
Great binding tutorial! Thank you. My most used color combo is purple, teal, grey with a cream background. Merry Christmas to your household!
Carol Andrews
QuiltSchmilt@gmail.com
That was a really great tutorial. I especially liked how you dealt with the corners. It is now on my list to try. My favorite colors are anything bright. I like warm colors in particular, reds, oranges and yellows.
Lime green and royal blue is my favorite combination at this time. My next favorite is tel and any bright green. Your tutorial on binding is top line. Thank you for sharing.
Thanks for the great tutorial! I am partial to blue and yellow!
I thought that was Sherry’s block! I’ll be playing along with the sew along! Right now, I find I am really pleased with blue and green. I just bought fabric for a baby quilt today that is blue, green, and yellow.
I need to try this binding technique!!! Glad you are gong to sew along. 🙂
Using Elmer’s Washable Glue is new to me…one I’ll need to try, for sure! I’m a life-long lover of purple and really like to pair it with gray or lime green.
Thanks for the tutorial. I would like to use this method for potholders.
Blue and gold are a recurring color combo in my projects. They were also my HS colors, go figure
Thank you for the great tutorial which will come in handy for a table topper I’m working on. I don’t have a favorite color combo, but love all bright colors.
I’ve not done self-binding, so I’m adding this to my resource list! Favorite color combination — boy, that’s a tough one. Red, orange and yellow are favorites.
Thank you for the great tutorial. I will have to try this on my next set of placemats. I love aqua and red right now, but I love all bright colors.
Thank you for sharing the Tutorial!! Very helpful…& appreciated! 🙂 Thank you for chance to win your give-a-way too… I love Blues & Greens…but love all colors really …giggle…
Thanks for the tutorial. It will be great to use for small projects. I love brights.
How kind of you. I am blue and anything lets say green or yellow or red. Blue is such a great quilt color.
I’ve never done self binding before. I will rewatch this and try it on a new smaller project. My new favorite color is gray. In all of my most recent baby quilts I’ve used gray and different combinations of brighter colours …. spring green, is a favorite.
Great tutorial. I’ve used part of your method, I don’t do the machine stitch once the corner is cut but just fold and secure with hand stitching while binding. I’ll have to give it a try. I really like yellows and blues together, or teals and peachy oranges. kthurn(at)bektel(dot)com
Thank you for the tutorial. I may give it a try when I make placemats.
Thank you for such a detailed tutorial on self binding. I like most color combinations but might pick burgundy, gold and navy right at the moment.
Thank you for the binding tutorial. Right now my favorite is navy, orange and yellow.
Oh, I like that corner technique! I’ll have to try that. Thanks for the tip. I love any combination of cool colors: blues, greens and purples.
I Ike traditional color combinations and favor red and blue.
blue and yellow are a favorite of mine.
What a great tote on self binding! My favorite color is aqua
Love any fabric bundles/combos that have either bright yellow/gold or turquoise. Thank you for that corner technique for binding. I am going to try it… looks like it makes a perfect corner.
I am loving the red and white quilts I have been seeing lately.
Thank you for the tutorial. Favorite combination orange/yellow and purple.
I particularly love blues and neutrals together! Thank you for the tutorial and the give-away! (lynnstck[at]yahoo.com)
Thanks for the tutorial! The close up photos really help. My favorite colors are green and blue.
I’m going to have to read this again and let It sink in. Looks like a great technique. I love bright fabrics.
Such a great question! I really like navy and red, especially with a neutral like gray or tan.
I have a fondness for LOTS of colors, but the first thing that popped into my head is teal and grey.
I love the self-binding on placemats! You reminded me to do it again. I love lime green with gray (or black & white).
My favorite color combo is blues with yellow.
Thanks for the great tutorial!
I like many different color combinations, but I’m wanting to use lime green and turquoise together.
Yellow blue and gray
love red and white, going to make one for me one day
Wonderful tutorial! I love navy paired with lime green.
This is a great little tutorial! I’ve never tried it before but the next time I have a small project I will have to give it a go. Favorite color combo…there are so many! I do love teal and red together with a bit a gray.
Thank yu so much for the self-binding tutorial. I have tried it on a small quilt. ‘Read somewhere that it would not be good for a larger quilt, but I kinda disagree, lol. Thank you for the awesome giveaway. ‘Gotta love Island batiks. I love the Moroccan Bazaar colors. So vibrant.
Thank you for the tutorial! I have numerous favorites but pink and brown is the best.
Thanks for the great tutorial! I’m going to try this on the next small quilt that I make. My favorite color combination is purple and green..