
So why do quilter’s need a blind hem? For a hanging sleeve!
I have used my blind hem stitch before – mostly for curtains and maybe a hem or two (I don’t do much garment sewing any longer). It is a terrific thing to know how to use.
A few things to consider:
- If the quilt will always be hung, I sometimes include the top edge of the sleeve in the binding.
- If I decide to have one that is removable, I could still use a straight stitch for the top of the sleeve (maybe longer than normal) on the quilt, very near the binding – no one will probably notice. But if you are unsure, do the blind hem on both sides!
- If it is for a competition, I don’t think that I would use this method, I don’t know how judges would react.
- Make a test swatch before you begin on your quilt.
- Use invisible thread, in the top..it will make it invisible!
Blind Hem Tutorial
1. Get out your sewing machine manual to see if your machine does the stitch. Here are the settings for my machines.
-Bernina 440 QE: Foot #5, Stitch #7, Zig Zag Width 3.4, Stitch Length 2.4
-Janome 3160 DC: Foot G, Stitch #13, Zig Zag Width .6, Stitch Length 2.0
2. Place the pieces flat on the table or ironing board, with back of quilt facing up.
3. Place the hanging sleeve on the quilt and pin on the edge you are not sewing

4. Take the quilt to the sewing machine. Flip the quilt over so the hanging sleeve is face down on the machine bed, the front of the quilt is facing you.

5. Fold the quilt away from the hanging sleeve, so there is 1/4-1/8″ of the sleeve showing, the quilt is to the right of the sleeve folded on itself. It looks like the picture above.

6. My machines seem to secure the stitch as you begin, but I keep an extra length of thread to knot and bury for insurance.
7. Check after a few stitches to be sure that the stitches are catching the quilt, and are not showing through. If they are showing, you may want to shorten the width of the zig zag stitch.
8. I do press the knot stitch at the end. You may want to keep a little length of the thread, to knot and bury if it is a heavier quilt.

9. For the bottom of the sleeve, you will position the quilt a little differently. You will have more of the back of the quilt showing.
10. You can remove the pins that were holding the bottom of the sleeve in place. Fold the quilt away from the sleeve, so that you see 1/8-1/4″ of the sleeve. Begin stitching
11. Your choice to use the knotting function on the machine or leave some thread to knot and bury at the end.

Viola, your sleeve is sewn on! It is so fast. Why I haven’t done it this way before who knows, but I will be doing it this way for most quilts now.
If you have any questions or comments on this tutorial, please email me!

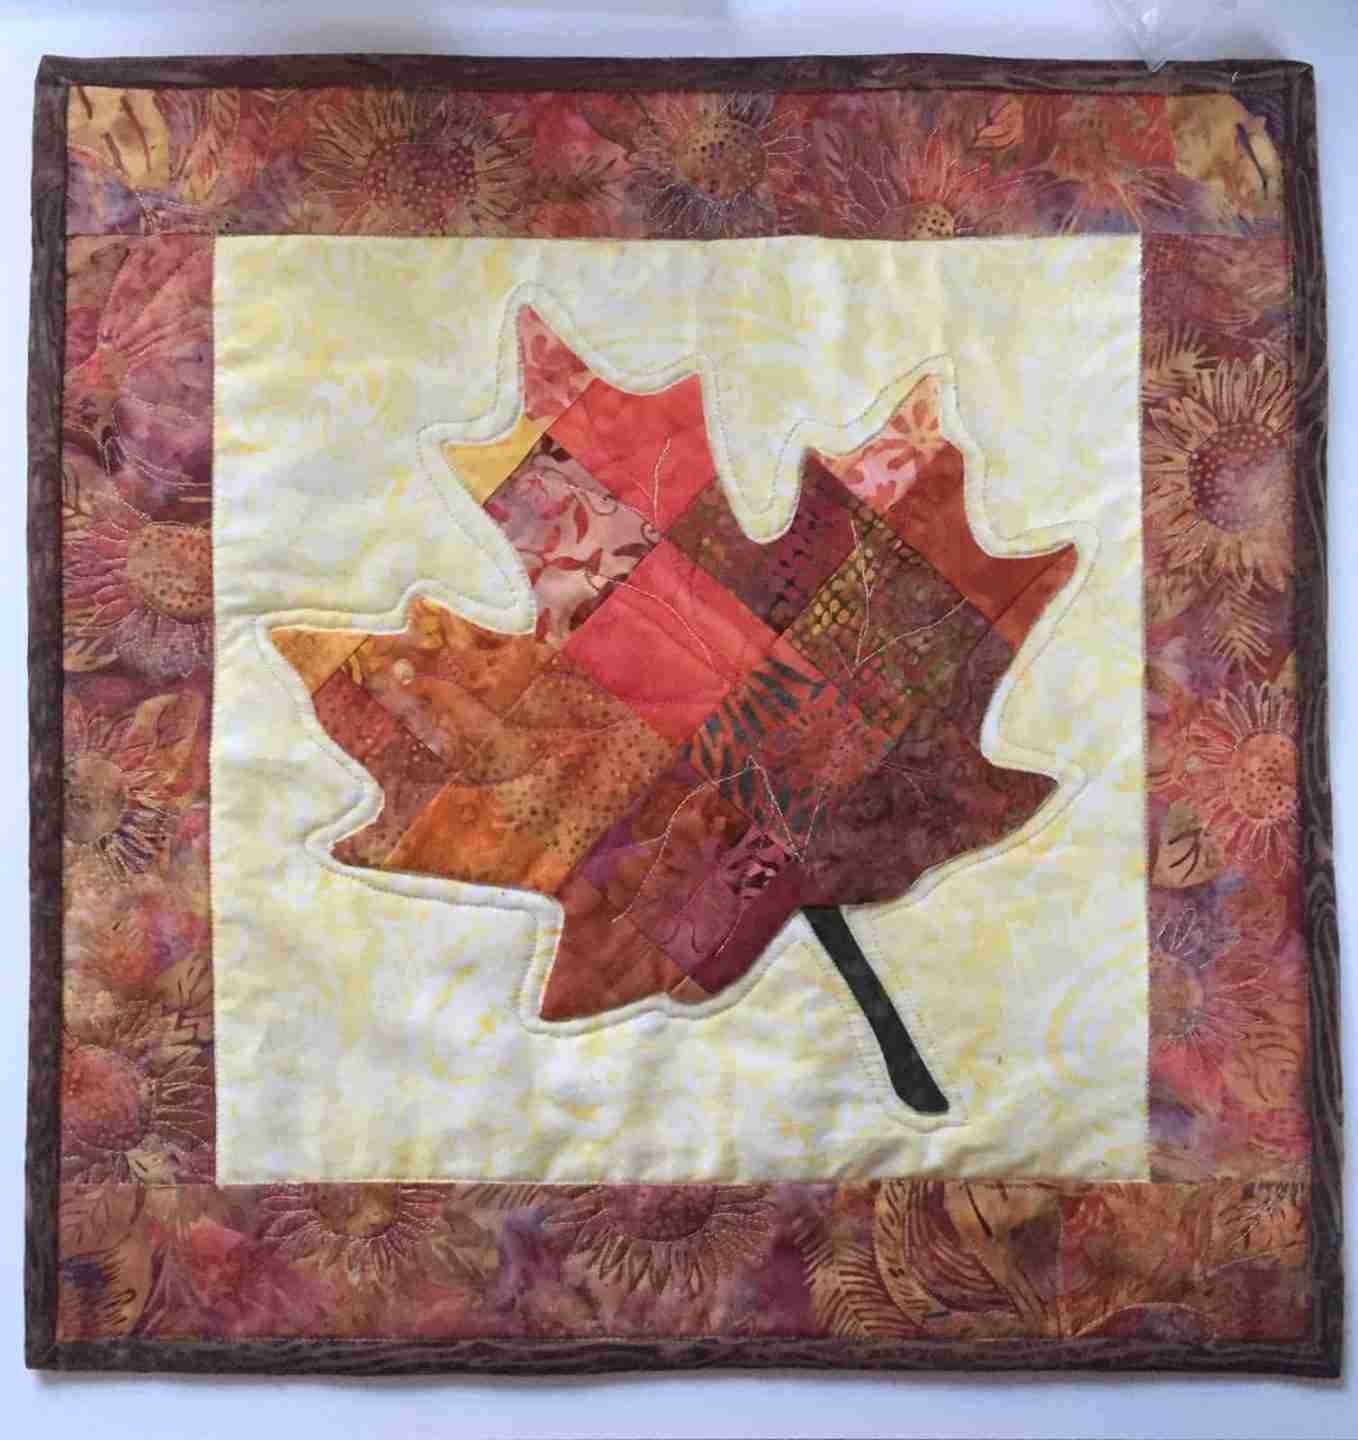
Thanks,Kathleen. I used this technique on our Guild’s QuiltCon charity quilt. It would never have been finished in time if I’d had to attach the sleeve with hand-stitching!
Isn’t it a wonderful use of that stitch!
It’s a great one isn’t it!
Hi Kathleen! Great idea and I’ll try this technique the next time I put on a hanging sleeve! ~smile~ Roseanne
You will be surprised. This old dog learned a new trick, you can too!
I haven’t tried the blind stitch on my machine yet, but definitely going to look it up. Anything to make attaching a hanging sleeve easier! Thanks for sharing!
It really is fast and easy. Try it you’ll like it!
Nice tutorial. Can not find your giveaway post, brings me to this page.
The giveaway was a test. Sorry it is showing up but thanks for letting me know. Trying to get rid of it on Bloglovin.
Absolutely fantastic job you have done here. And Thank you for sharing with us