
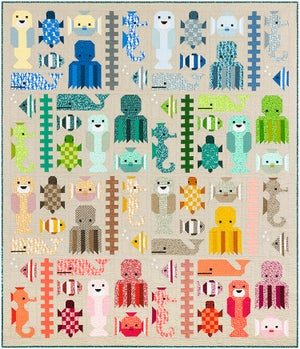
Welcome to September’s edition of Tips and Tutorials on the 22nd where we share our favorite quilting or sewing tips and tutorials. Before we get started, I do owe apologies for skipping last month, I just couldn’t get come up with a topic and there were a few other life things in the way. Once those recovered, I did a favor for a friend and now am working on a blog quilt which I needed to finish this week. You will see some of the brilliant fabrics, and it led me to my topic, a few piecing tips.
Last Month’s Link Ups
Here are July’s links for you take a look at. I am so grateful to those who linkup their tips and tutorials!
- Quilting with rulers and Kawandi style quilting, from Andree
- Towel Topper with Accuquilt, from Vicki
- Quarter Arch Piecing Tutorial from Yvonne.
A Few Piecing Tips
True confessions, I am not a pinner but there are times that I do just that. So let me share with you how and why.
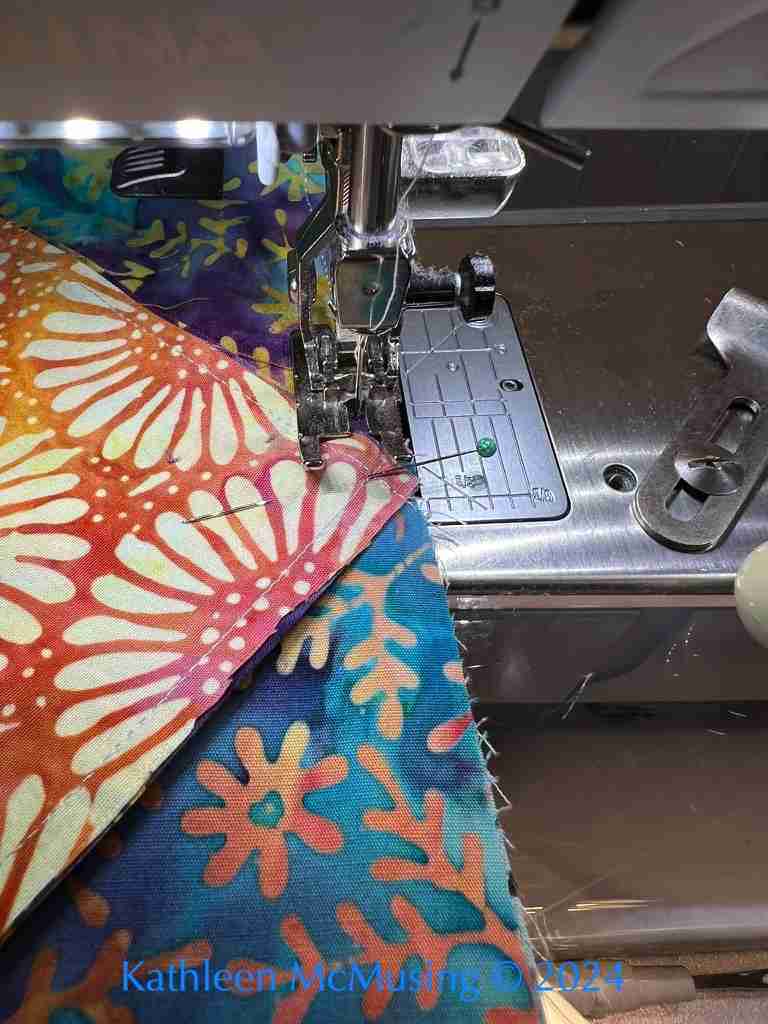
I pin when I want something to meet just right. This quilt has square in a squares and I want those to meet exactly on the point. I PIN! I push the pin through the top piece then with some space into the bottom point. Then I push the fabric together and grab a bit of fabric to keep in place.
Here is a little video of what it looks like when I push the fabrics together.
I also use this when sewing. It is hard to film and sew, but when the pin gets close to the foot, I pull it out to free up the point. Then, as the piece goes under the foot, I angle the pin and finally release it when it is a thread or two away. I saw this years ago demonstrated by Alex Anderson and I use it alot.
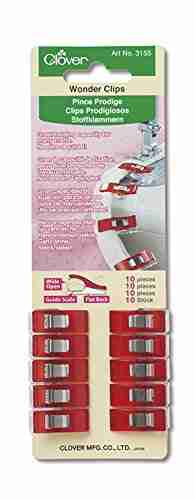
I also use Clover Clips. These I love for seams and especially controlling their direction. Then can can grab both sides and hold in place. In the picture below, I am using it to hold down the second seam.
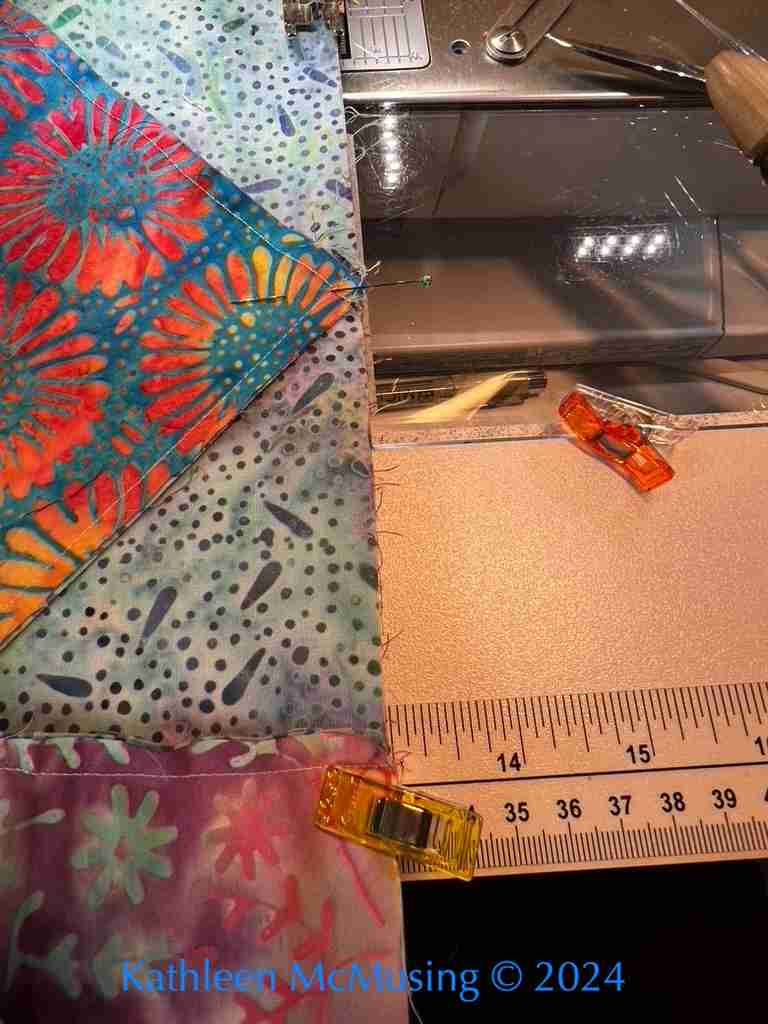
Sometimes, I release it before it reaches the foot and use either my stilleto or finger to keep holding it down. The seams can flip easily as you go over the join between the table and the bed of the sewing machine. For all the seams on the quilt that you will see on the 28th, I did this. It worked like a charm! One other thing that helped was that I “webbed” the quilt. You can see more on that at Brenda of Songbird Designs here.
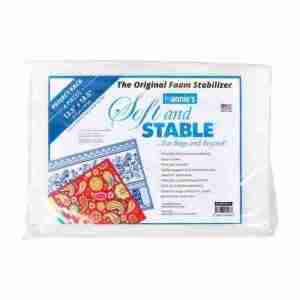
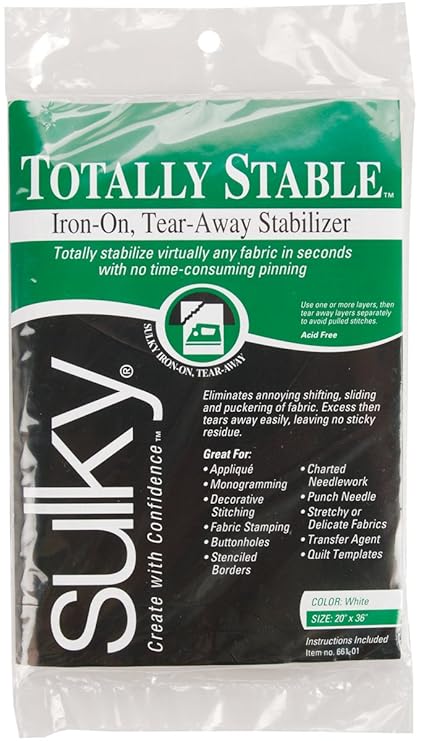
Elminate Stabilizer Confusion
I recently ran into this and wanted to share it with you. Here’s a handy tool to figure out what you need to us. I am sometimes confused by it all, and thought this was one to add to the tips and tutes for you, too!
Join the Linky Party!

Now it’s your turn to post, and the rules are simple – write up a tip or group of tips or a tutorial that is quilting or sewing-related and link that post below. The linky party is open from 12:01 am on the 22nd through midnight on the 31st. The post does not have to be new but should be one that hasn’t been linked to Tips and Tutorials in the past. If you don’t have a blog, please send it to me (kathleen@kathleenmcmusing.com) and I will post your tip or tutorial for you!
Past Tips and Tutorials
In case you didn’t know, if you have missed some past #TTot22, you can check them out in the tab at the top of my page or on my Pinterest board.
Coming Up on My Blog
You will see the introductory hop post tomorrow, and my project on the 28th. Do be sure to join in – there are prizes available and an Instagram Loop in early October will give you a chance at more prizes.
TGIFF Hosting 9/26-9/28
Flower Pot Blog Hop 9/28
























Really good tutorial Kathleen! Those little videos really helped. Also the webbing idea – I usually sew mine together by rows, but will try the column/webbing technique next time. That stabilizer link is gold!
Who knew there was a stabilizer thing like that? Thanks! Good tips on piecing, too.
Also not a pinner, Kathleen. I learned the technique you used somewhere along my quilting journey and employee it when points REALLY need to match up. Thanks for sharing the good tips!